Most Popular
The Basics Of Constructing A Pole Barn
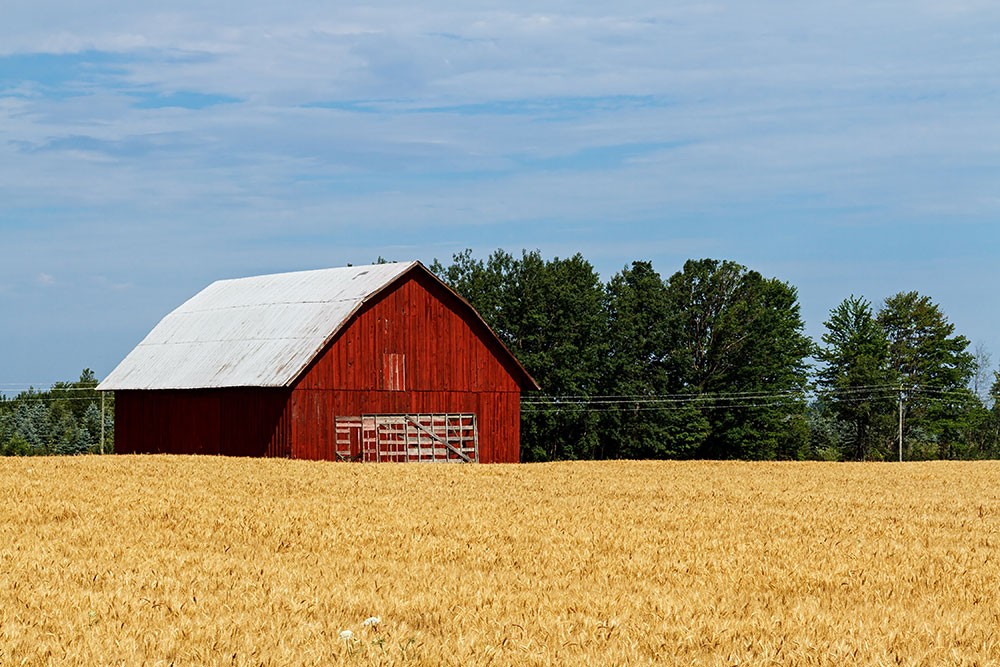
Even if you have limited experience in the field of construction, if you’re willing to invest in the right materials, put some time into the planning of the structure and display the elbow grease to build the structure properly, you can construct a pole barn on your property that’s well suited to your purposes with a minimum level of fuss and concern. We’re going to take a quick run through of the basics of constructing a pole barn on your property.
Design the space
Even the most instinctive builders need a blueprint to work from, and if you’re going to be building a major structure on your property it pays to spend some time thinking about the way you’re going to design the space. Ideally you need to build the barn on a flat surface that also offers the facilities for adequate drainage. While the specific measurements for each pole barn are going to be different, it pays to spend some time thinking about what you’re actually going to use the pole barn for and whether the area you’ve allocated provides enough space for everything that’s going to be housed within its four walls. Depending on where you live you may also need to obtain specific permits before constructing property on your site. Be sure to gather the materials and equipment you’ll need to make the property in advance so you’re adequately prepared to make it once you and your cohorts get the green light.
Constructing the foundations
The cornerstone of your barn is the poles which provide the framework and the structural integrity that keep the whole thing together. It is integral to your success to do everything in your power to get it right. Dig the footings and set the poles within. Depending on your design and process, you might want to set the poles and let them sit for a few weeks before adding the concrete to complete the task and strengthen the whole structure. Once you have this important framework and part of the design in place, you’re ready to finish the rest of your pole barn. If you fail to get the foundations right your pole barn will be prone to structural damage.
Installing the roof of your pole barn
Once the poles are in place and the framing has been installed you can get to work installing the roof of your pole barn. This is another part of the pole barn building process that can be quite tricky at times, but it’s essential to get right if you want the structure to effectively provide protection against the elements. Begin with the trusses. Each truss should be installed in a manner that offers support to the trusses around it. Nail lumber onto the edges of the stringers and finish it off by nailing pieces of tin to the roof with the significantly stronger roofing nails. Short sections of tin should overlap to create a weather-tight seal that protects the inside of your pole barn against testing wether, but you’re more than welcome to caulk the sections if you feel that it would help.
This is perhaps the most daunting part of the project, so it’s important to consider hiring a crew with the right equipment to perform this task if you feel as though you’re not very well-equipped to do so. A task that might take you the better part of a fortnight can be completed easily by a professional crew with the right equipment, experience and expertise. Once you’ve got the roof and the wall in place the hardest part of your pole barn will be complete, and you can start focusing your attention on the minor details of your overall pole barn design.
Additional tips and tricks for installing a pole barn
Consider implementing sound proof materials in your design, particularly if you’re going to be housing animals in your pole barn and you want to create a safe place. You’re also going to need at least one door and in many ways a sliding door best fits the bill. The door should be no more than half the length of the span of the barn, as this ensures the track has enough space to be properly installed. Additionally, consider applying a weatherproof finish so you can ensure that it will stay safe in the elements and cut down on repairs.