Most Popular
How To Build The Perfect Dog Kennel With Titan Lite Parts
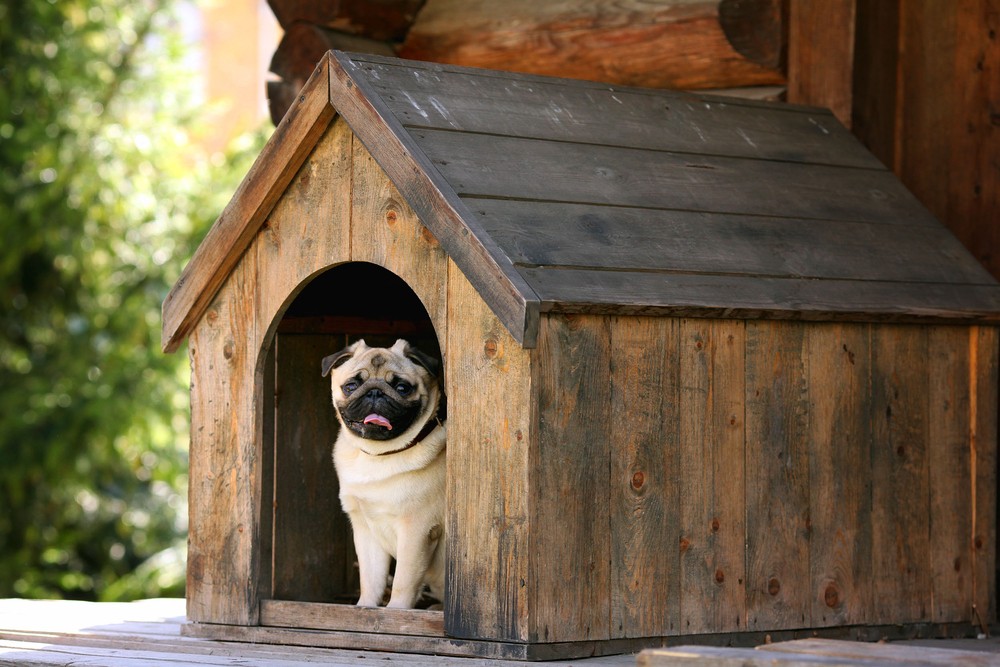
Building your dog a kennel will save you a lot of money over a pre-built model, allow you to personalise and customise your furry friend’s home, and is a fantastic DIY project to do either solo or with children.
In the Australian climate, your little mate is going to want something to both protect them from the baking heat of summer, the chills of winter, and (in some locations) the torrential downpour of the wet seasons. Building a kennel that suits your dog isn’t hard, and they’ll be thankful for it when the weather starts to stray from comfortable.
If you’re wondering how to plan it out, what parts you’ll need, and how to build it, Titan Lite has you covered. Our sheeting products come in a range of sizes, and are easily able to be cut to the right size to suit building the perfect dog kennel. We’re here every step of the way with our step-by-step DIY guide for your four-legged friend.
This is especially good if you have any parts left over from making your own shed. It’ll make a great secondary project, while additionally making use of the odds and ends of any shed walling you might have left over.
Step 0: Tools for the job
- Titan Lite QDEK or Corro Wall and Roof Sheeting (variable: sizing in part 1)
- Plywood basing for the floor and underfloor runners (variable: sizing in part 1)
- Spirit LevelSaw (handsaw or electrical)
- PowerdrillA Sander (or sanding paper)
- Wood screwsL-brackets (variable: sizing in part 1)
- Measuring tape(Optional)
- Paint.Jigsaw (or tin snips if you’re feeling adventurous)
- Pop rivets
Step 1: Sizing, materials, and planning
Once you’ve cleared your area and assembled the things that you’ll need, the first step of construction is to ascertain the size of the kennel and cut your materials for it.
For this project, we’ll be using QDEK and Corro Sheeting for the walls and roof, with a base of wood and a few runners underneath it to aerate the kennel.
Plywood is your best bet for the floor; it’s thick, lighter than most hardwoods, and is great for both outdoors and changing weather conditions.
When it comes to sizing, there’s going to be certain tiers depending on your species. Largely speaking, there are three sizes of dog: those around a Scottish Terrier or Chihuahua’s size are small dogs, a Samoyed or Bull Terrier would be medium, and a German Shepherd is a large dog.
You won’t want the kennel to be too small or too large for your pet, so you’ll be cutting it to one of three dimensions. We’ll be working with the assumption of a dog here; upscale all measurements by 140% for a medium dog, and 250% for a big breed. It’s easy to cut Titan Lite sheeting to suit building a dog kennel of any size.
Sheeting walls and measurements:
- 600 x 480mm base
- 440mm base height
- 240mm roof slant
For this, you’ll be purchasing:
- 4 x QDEK Sheeting, 440 x 830
- mm2x QDEK Sheeting, 400 x 830
- mm1x QDEK Sheeting, 230 x 830
- mm1 large plywood board, with dimensions suitable for a 600x480 base
- 2x plywood beams, suitable to cut to 600x100
Step 2: Cutting
Timber floor
Cutting your timber for the floor is simple, but if you’d like to save the effort, you can get timber pre-cut at most hardware stores.
To cut your own, you’ll need a bench and a saw. You’ll be cutting in one large plywood board (or multiple joined together) to a dimension of 600 x 400mm to start with (remember, these are smaller dog values).
After that, you’ll need to work on the runners. We’ll essentially be lifting the dog kennel off of the ground in order to both aerate it and make it easier to move around quickly. Again, we’ll be using wood for this.
We’ll need two of these, and they need to be cut to the same approximate length as your base, with enough width to ensure that they can stand on their own. Cut both of these to 600x100.
Final cuts:
- 600 x 400 plywood base board x 1
- 600 x 100 plywood runners x 2
Walls and roof
Next up, we’ll be making the actual sides and top of your dog kennel.
We’ll be cutting the sheeting sections for the floor and wall with a jigsaw cutter, but if you don’t own one, you can either hire it or find a nearby hardware store that should, again, allow you to bring in pieces for cutting.
If you do decide to cut it at home, remember to wear the specific safety goggles for the job. You won’t need much outside of some work gloves, overalls, and some steel capped boots for tin snips, but you’re going to need the full facial and body covering for a jigsaw.
Once you’ve assembled that, it’s time to get to cutting. This can be a time consuming endeavour, so don’t be too harsh on yourself if you’d rather skip the middleman and go to see a hardware specialist.
Begin by cutting two of your 440 x 830mm QDEK pieces into 600 x 400mm. This will be used as the left and right side walls of the kennel.
Next, cut your final two 440 x 830mm pieces into 480 x 440. This will be used as the front and back base pieces, separate from the triangular join between roof and front wall that will be placed above them.
Speaking of which, we’ll next be cutting those triangles. Take your 280 x 830mm piece and measure two cuts. The first should be an isosceles triangle with a length of 480mm across the base and a height of 240mm. From there, take the outside edge of that cut and measure a new triangle, using the first as a base, with the same dimensions. Cut these, and place them with the previous pieces.
Finally, measure your final two 400 x 830mm, and cut to 600 x 400. This will serve as the roof slats, with a little extra room on top for overhang.
Final cuts:
- 440 x 600mm x 2
- 440 x 480mm x 2
- 480 base\240 height isosceles triangle sheet x 2
- 600 x 400 sheet x 2
Door frame
Finally, take one of your rectangular front\back wall pieces and measure out a 350 x 200 rectangle from the bottom middle for a doorframe. Cut this as smoothly as you can, and refer to our advice on edges below.
A note on overhangs and sharp edges
You’ll notice that our roof segments are both slightly longer and wider than they need to be to line up completely. This is to allow water runoff to occur and place itself far enough away to both not soak your pooch in gradual drips, and to deposit it far enough away to not turn the bottoms of the runners into a swampy mess.
As a result of this, without careful planning you can be left with some sudden edges on your kennel, which, depending on your dog, could harm them or even you if they’re too boisterous around it.
Considering adding rubberised edges to anything that you might feel could be harmful to yourself or others. Silicon corner tape is one easy way to achieve this, as it can be applied to most surfaces and is flexible enough (as it joins to the surface itself rather than being pre-built) to protect against most potential corner pains. This is especially important for your door, which we would consider adding an entire rubberised or fabric strip around.
Step 3: Assembly
Now we can finally begin to assemble your dog’s new home.
Let’s start with the base. Take your baseboard and runners, and measure out 100mm from either side on the bottom side. On this line, place the outside edge of the runners.
We’ll be using wood screws to join them, so screw downwards from the side your dog will be on into the floor of the kennel to join them. Don’t press too hard or risk splintering the floor, and if you do, make certain to immediately sand the area for smoothness. We don’t want Fido getting an unexpected surprise, after all.
Next, we’ll be attach the side pieces (400 x 600mm). Take your L-brackets and brace them against both the base and (now) first inside wall. For stability, screw in the base portion with wood screws, and then drill in and place your pop rivets to secure the other side. Do this again with the opposite wall, and you’ll have your first two sides complete.
From there, attach the front and back walls (480 x 440mm) in a similar fashion to the base, but with the added provision of new L-brackets and pop rivet placements on the edge between the wall segments rather than just the base.
Add the other, and you’ll have a small box with a doorframe (assuming you’ve followed the steps correctly, at least). Now, it’s time to add the roof.
Begin by taking your triangle pieces and affixing them through a flat bracket onto the top of your front and back walls through more pop rivets.
The final step is to slot both roof segments (400 x 600mm) on top of the triangle. They won’t line up precisely with the sides of the roof, but will instead overhang to allow water runoff. For this join, you’re going to want to join them at the apex of the join as well as the inside edge of the box with another L-bracket, in order to stop them from letting in water at the top.
Making a great dog kennel DIY-style
After that, you should have a workable dog kennel! Clean up any edges (make double sure that the doorway is safe to use), and you should be good to go! Titan Lite products can be cut to suit a variety of different DIY projects. Contact Titan Lite today to discuss your next DIY project and make sure you get all the right products that you need, the first time round.